• Custom Power Wheels Hub Caps Based on the Factory Part

    Case Study • Custom Part • Power Wheels

    Custom Power Wheels Hub Caps – Reverse‑Engineered Design Through Final Printed Part

    A customer wanted custom hub caps for a child’s Power Wheels and provided several reference images showing the style direction they liked. The original cap was measured, multiple design options were mocked up in CAD, test-fit prints were produced, and the selected concept was carried through to a finished printed part ready for final use.

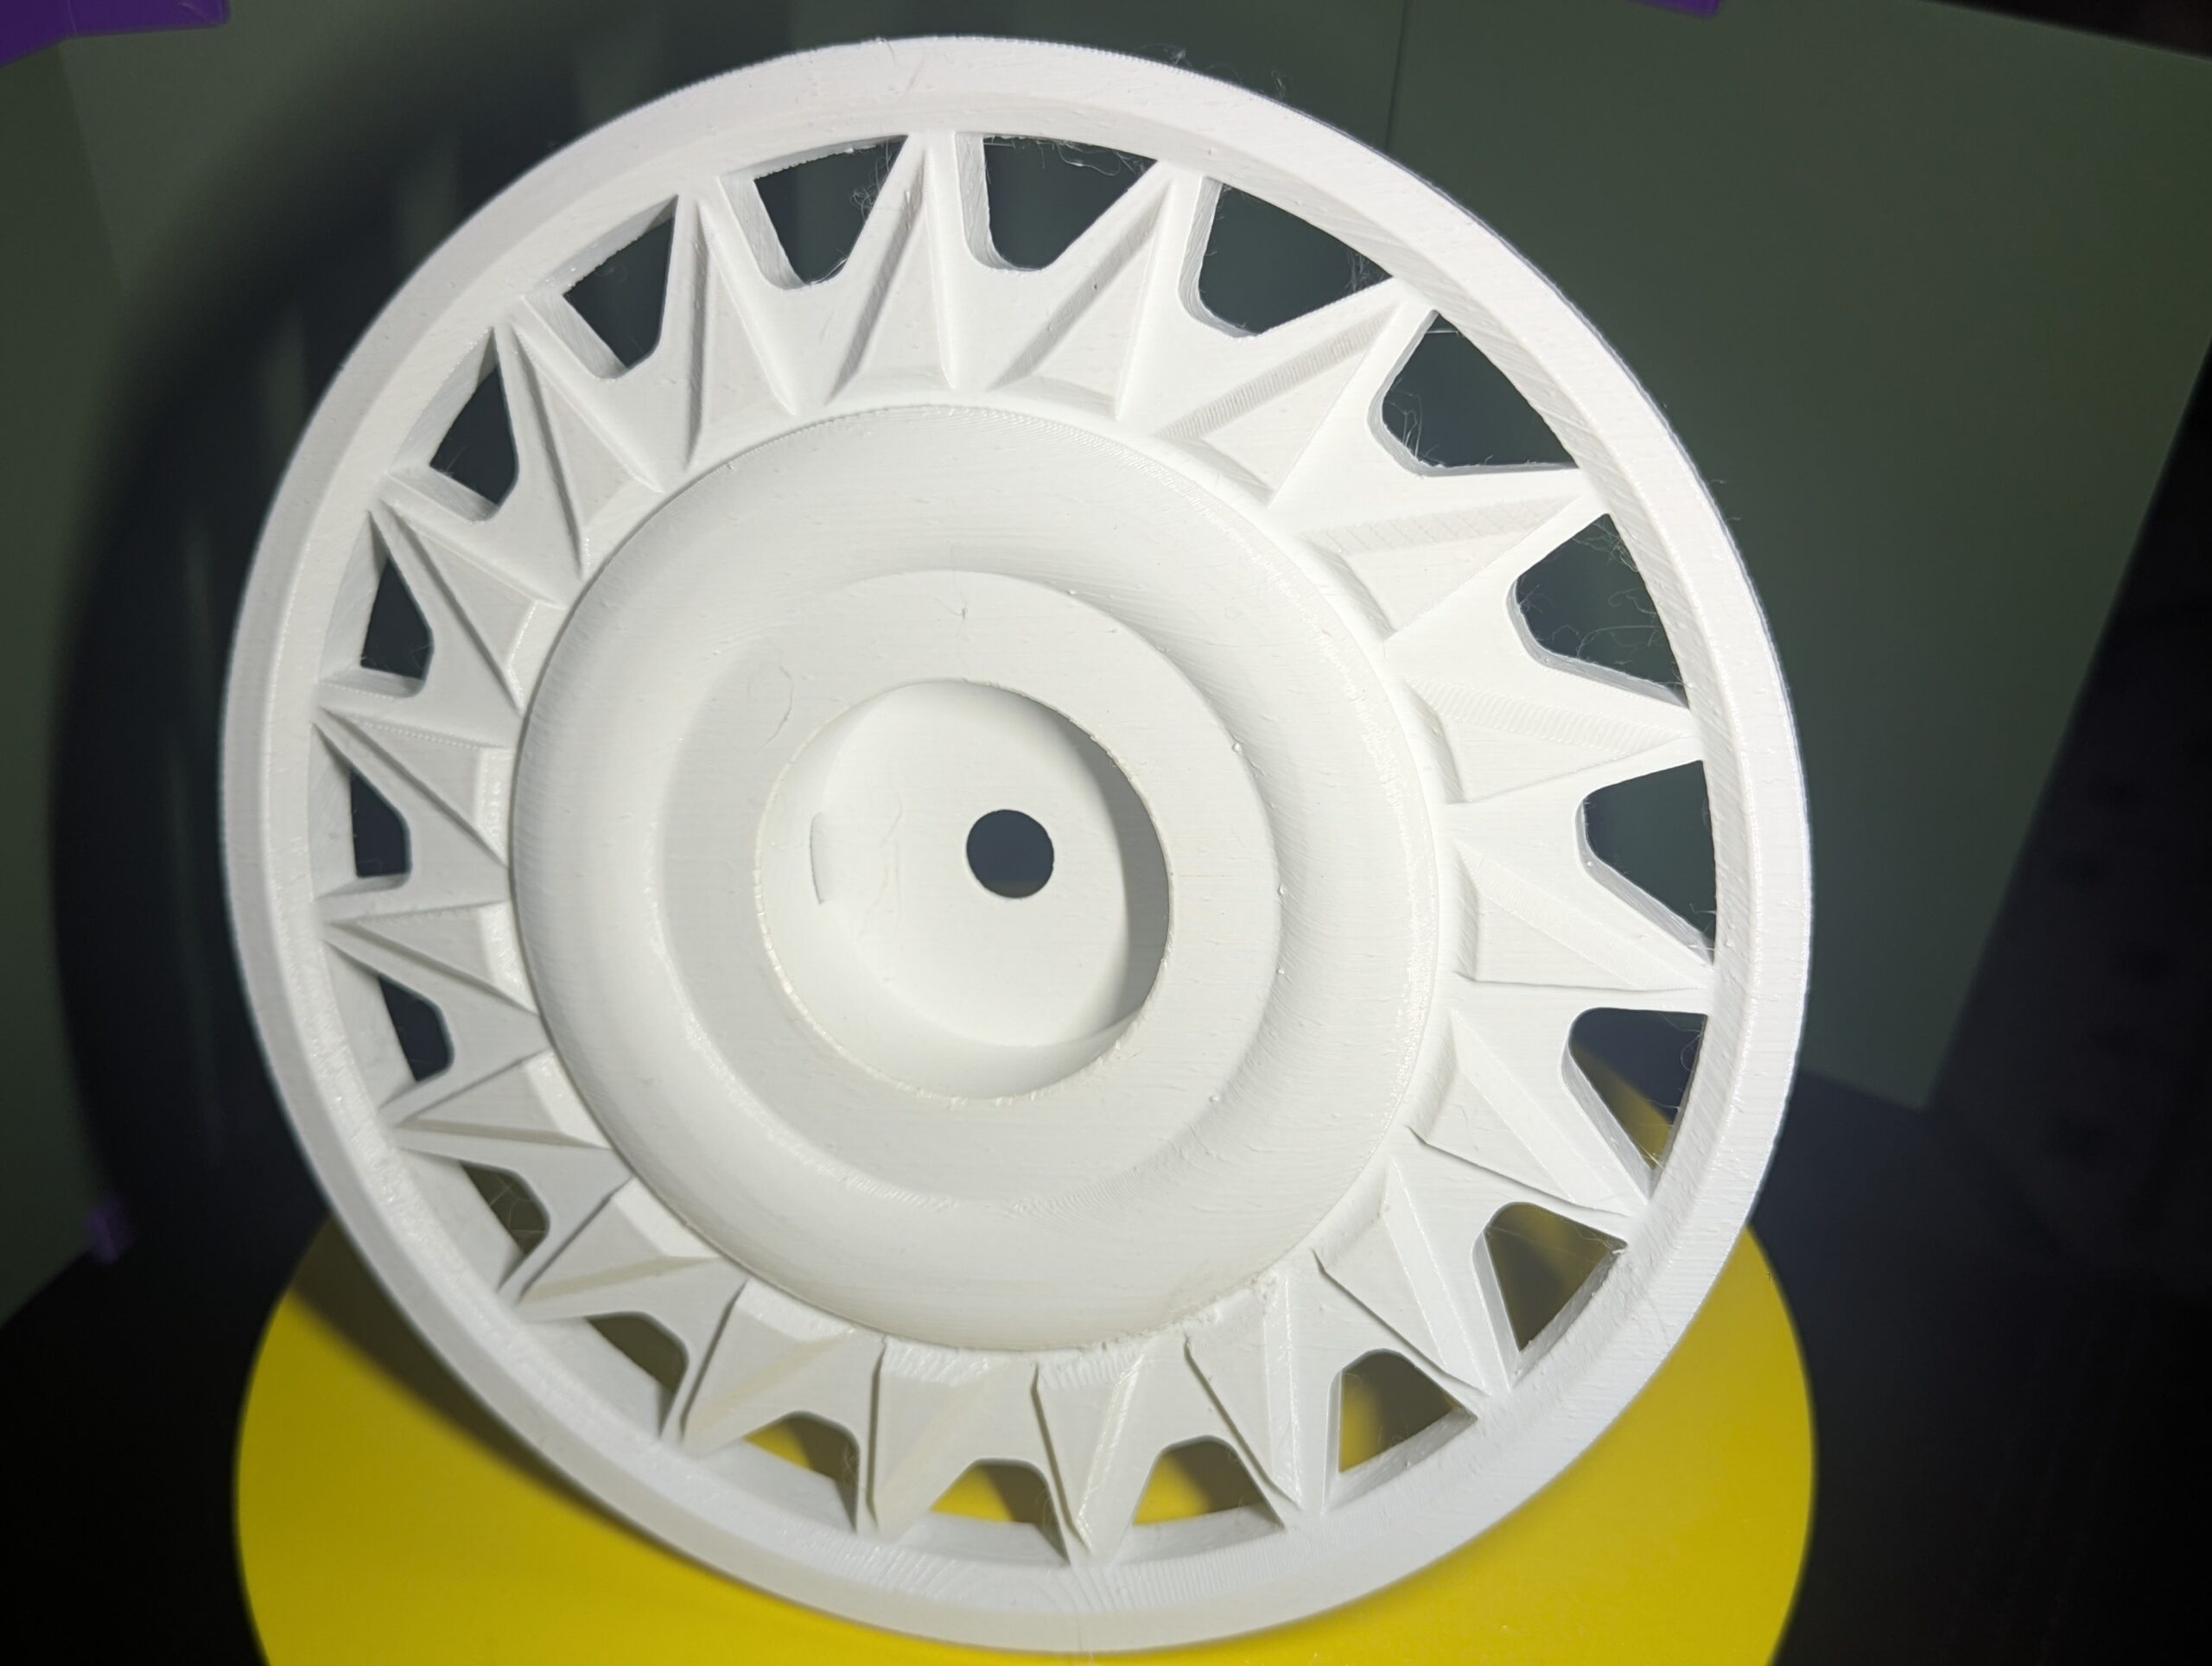
    Final printed custom Power Wheels hub cap installed and photographed after design selection.
    Final printed hub cap after concept selection, fit validation, and production.

    The goal

    The stock hub cap worked fine mechanically, but the customer wanted something more custom and visually distinctive. The challenge was to create new front-side styling while keeping the original back-side mounting geometry so the replacement caps would press into the factory wheels without modification.

    Rather than jumping straight to a single design, the project was approached as a guided design selection process. Multiple concepts were developed from the customer’s inspiration images so they could compare different visual directions using test-fit samples based on the same core hub cap dimensions.

    Step 1 · Reverse engineer

    The original hub cap was measured and modeled so the mounting features could be reused exactly.

    Step 2 · Design options

    Multiple front-face concepts were created from the customer’s reference images so the overall look could be compared before locking in a final direction.

    Step 3 · Final print

    The selected design was test-fit, refined, and printed as a finished custom part ready for final use.

    Starting point

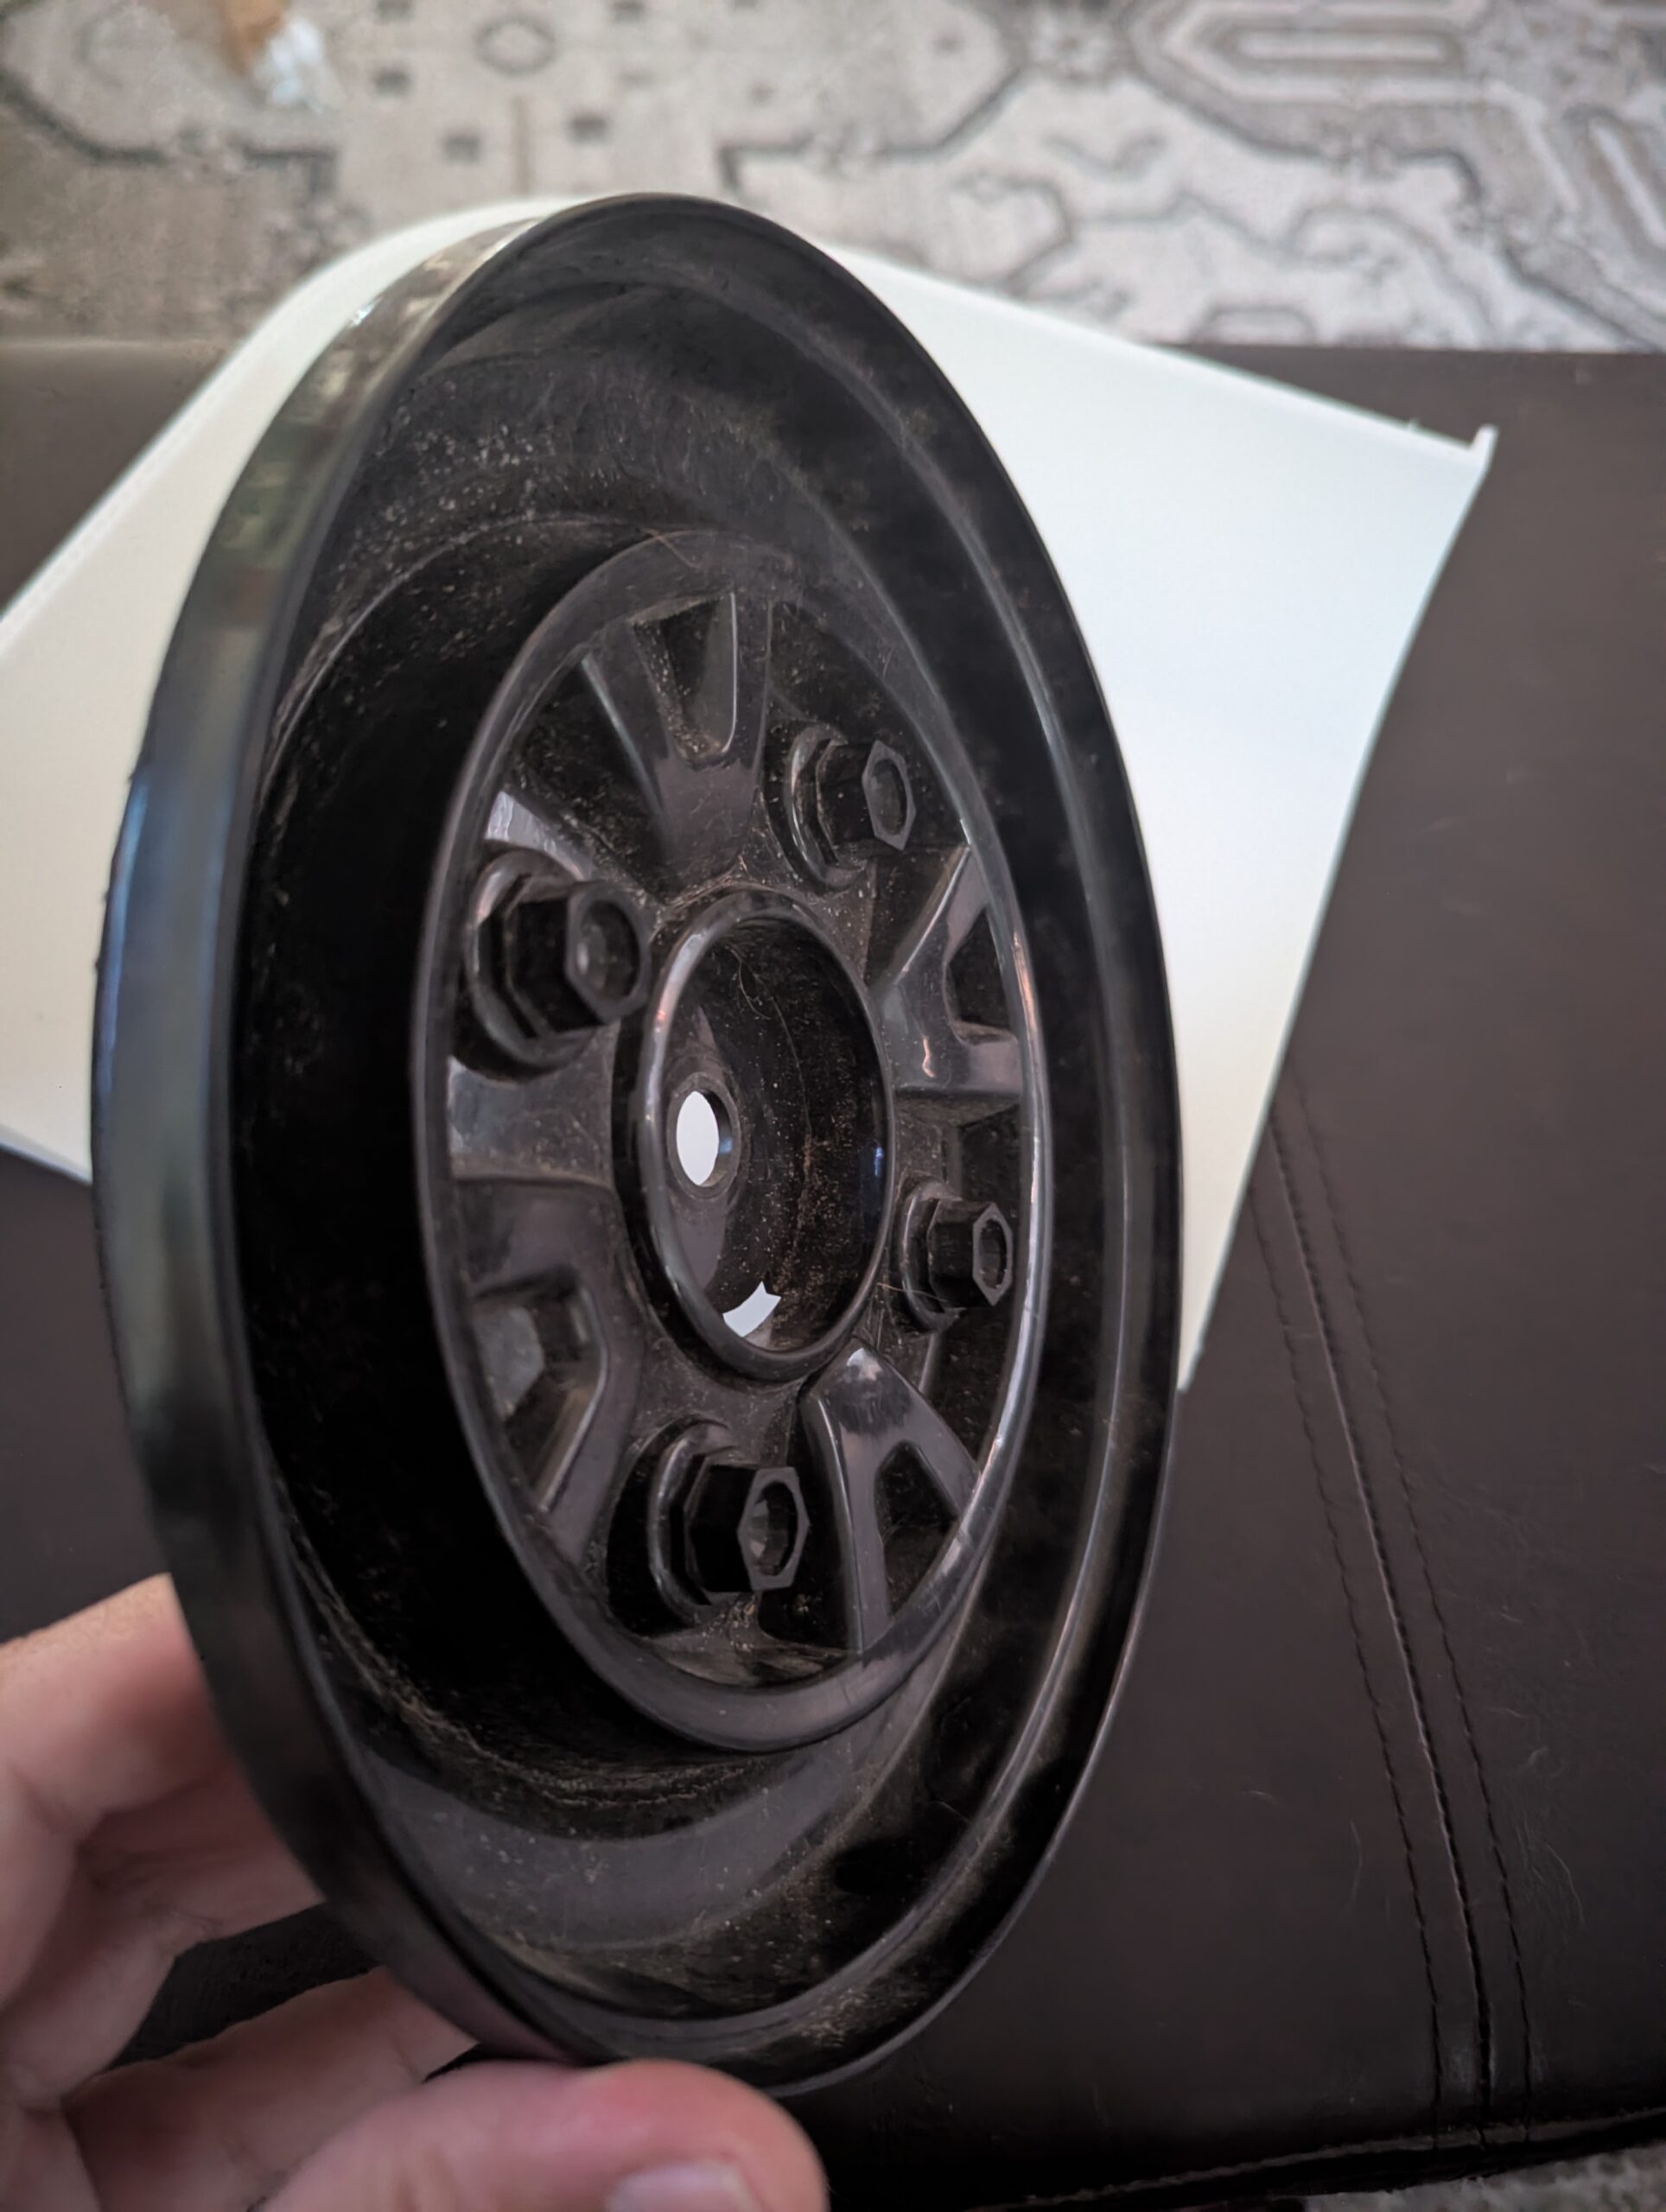
    The factory hub cap was used as the reference part for measurements, fitment, and mounting geometry. That original piece defined the critical dimensions that had to be preserved while the visible front face was redesigned.

    Original factory hub cap from the Power Wheels wheel.
    Original factory hub cap used as the starting point for reverse engineering.

    Design development

    Each concept kept the same core fitment geometry on the back side while exploring a different visual treatment on the front. This gave the customer multiple style directions to compare without changing the way the cap attached to the wheel, keeping the project focused on design while preserving factory compatibility.

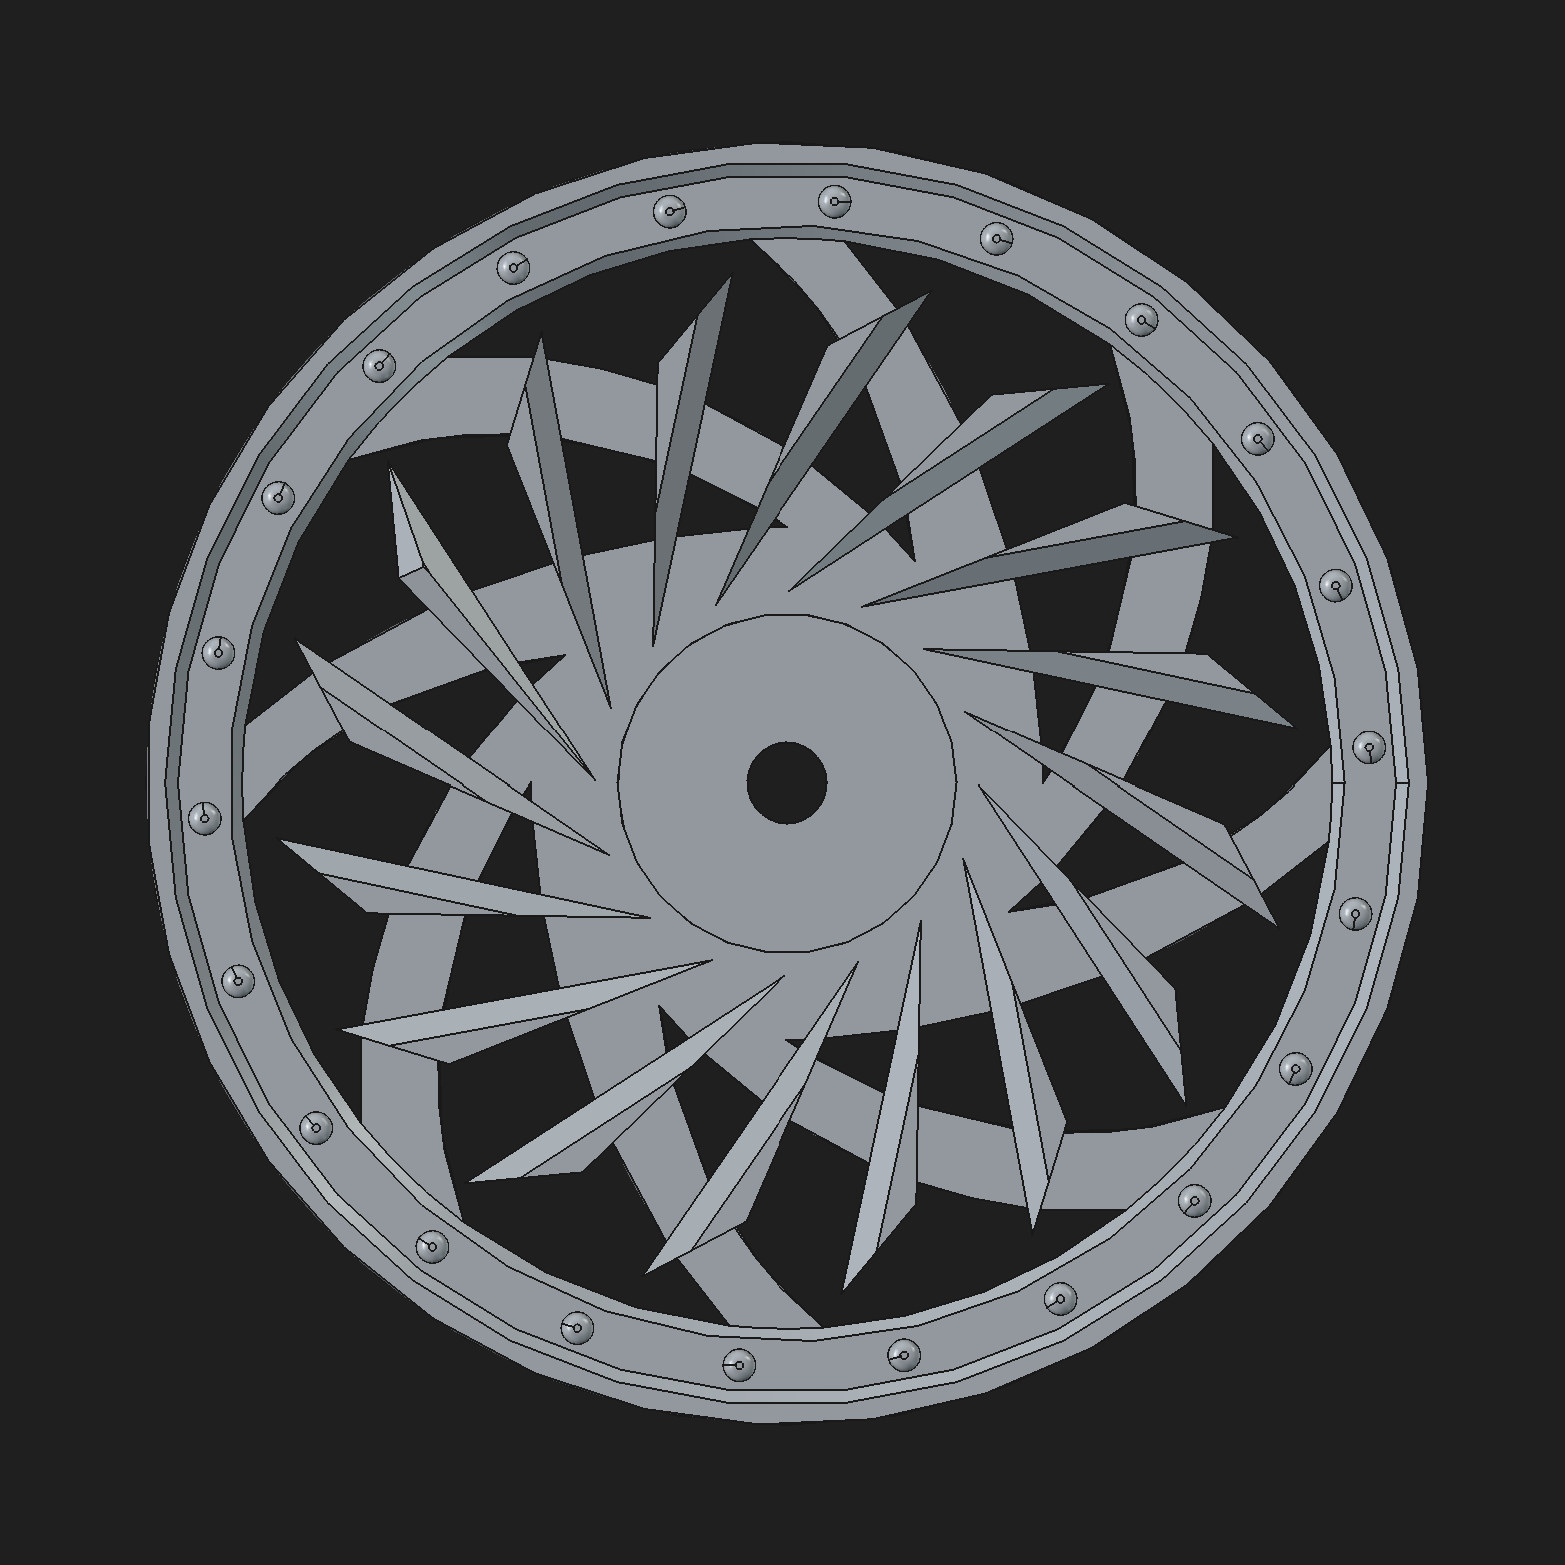
    CAD rendering of custom Power Wheels hub cap design option 1.
    Design option 1.
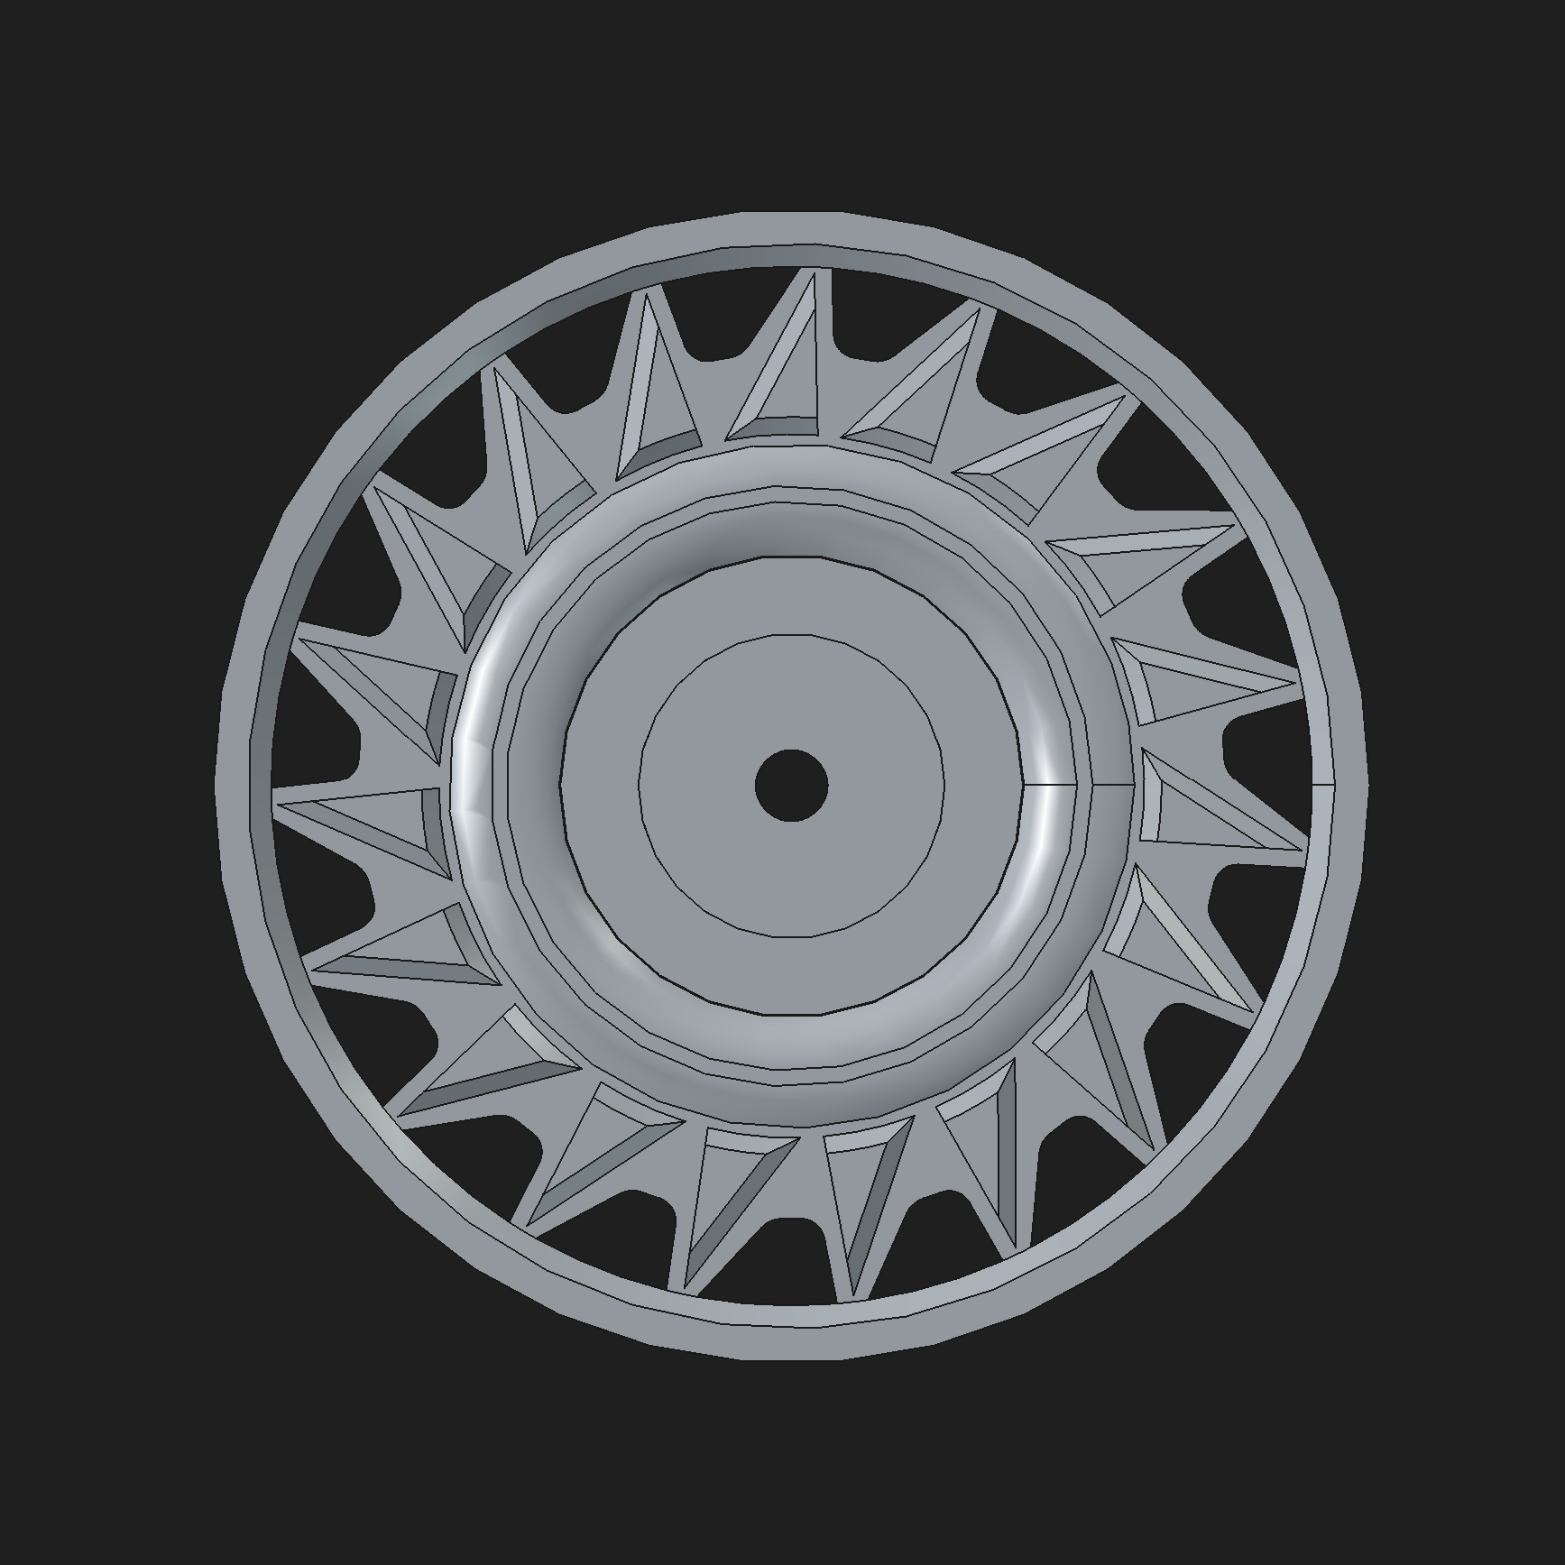
    CAD rendering of custom Power Wheels hub cap design option 2.
    Design option 2.
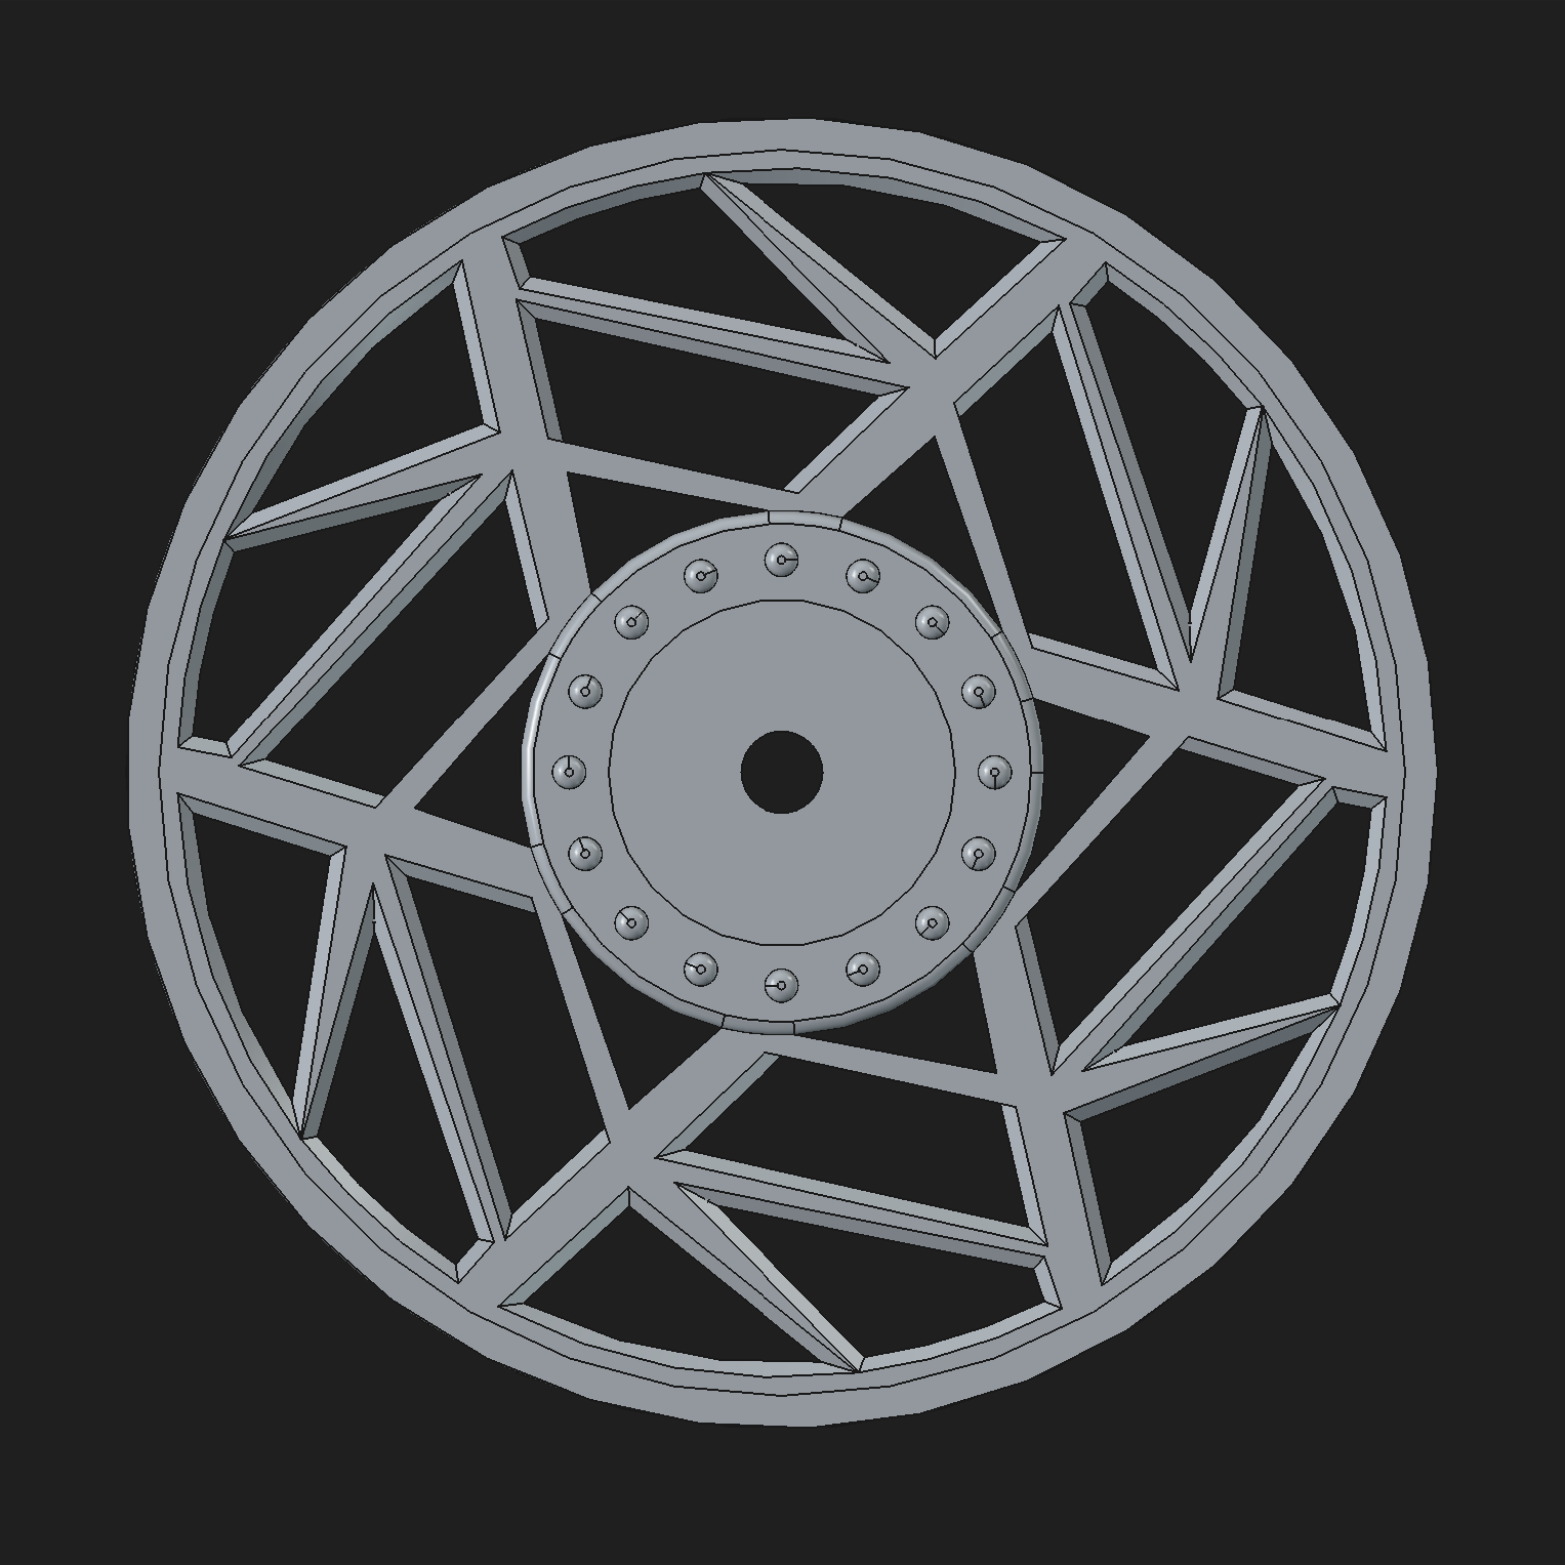
    CAD rendering of custom Power Wheels hub cap design option 3.
    Design option 3.

    Print timelapse

    Once one of the design directions was finalized enough for testing, a print timelapse was captured during production. It gives a quick behind-the-scenes look at how the part builds layer by layer during printing.

    Fit validation

    Test-fit prints were produced so the customer could evaluate the concepts as real parts rather than only as screen renders. This made it possible to confirm wheel fit, retention, edge proportions, and overall visual presence before moving into final selection and production.

    Final printed result

    After comparing the design options and confirming fit on the wheel, the selected concept was carried through to a finished printed hub cap. The final part keeps the factory mounting geometry while delivering a more custom front-side appearance based on the customer’s preferred style direction.

    Finished custom Power Wheels hub cap after final design selection and printing.
    Finished printed hub cap based on the selected concept.

    Result

    This project moved from reverse engineering and concept development into a finished custom part that preserved the original Power Wheels fitment while giving the customer a more distinctive final look. With the base geometry proven and the selected design carried through to a final print, the project successfully turned an OEM reference part into a custom replacement ready for use.

    Service

    Reverse engineering + custom part design

    Project type

    Custom Power Wheels hub cap from OEM reference part

    Outcome

    Finished printed hub cap based on the selected custom design

  • Power Wheels Motor Gear Replacement From the Original Part

    Case Study • Replacement Part • Power Wheels

    Power Wheels Motor Gear – Reverse‑Engineered Replacement

    A customer brought in a worn motor output gear from a Power Wheels ride‑on toy after the original part had started slipping and making noise under load. The gear was measured, recreated in CAD, prototype tested for fit, and prepared for final ABS replacement production.

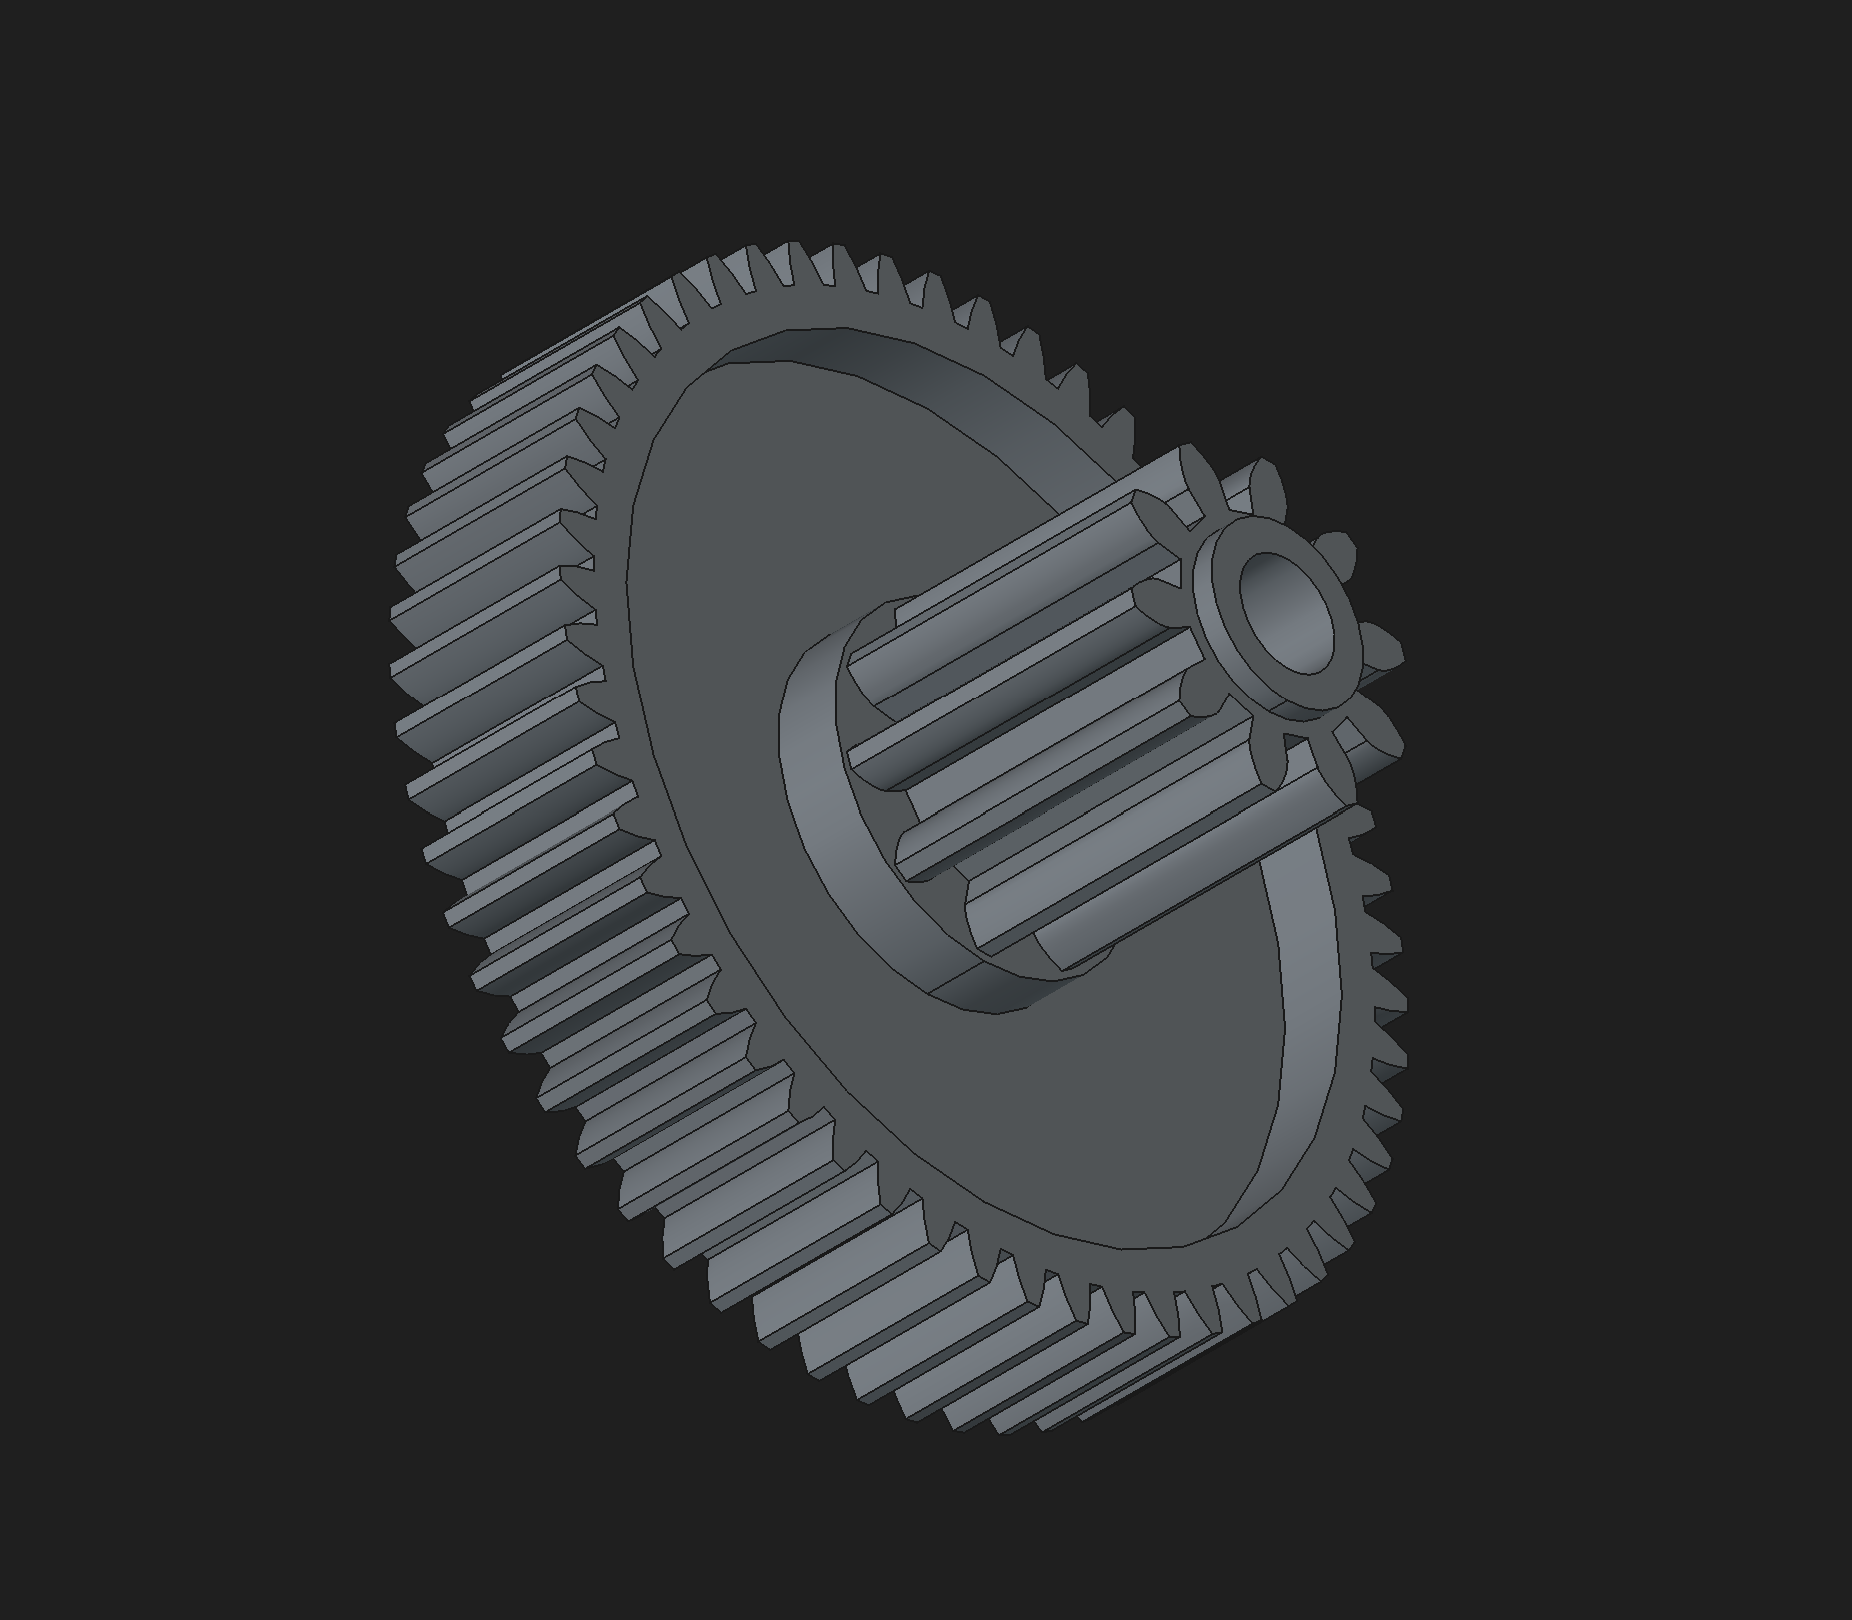
    CAD model of the replacement motor gear ready for 3D printing.
    CAD model of the recreated motor gear.

    The problem

    The original motor gear had rounded teeth and visible wear on the driving faces, which caused intermittent slipping and harsh engagement whenever the toy accelerated. Instead of replacing the entire motor module, the goal was to recreate the single plastic gear so the motor, housing, and the rest of the drivetrain could remain stock.

    Matching the original gear geometry and shaft interface was critical. The new gear needed to slide onto the motor shaft with a positive lock, mesh correctly with the mating gear in the reduction stage, and hold up to repeated starts without chattering or skipping under load.

    Step 1 · Measure & model

    The worn motor gear was measured and modeled in CAD to match the original tooth count, pitch diameter, and shaft interface.

    Step 2 · Prototype test

    A prototype print was used to validate shaft fit, tooth engagement, and backlash in the existing gearbox before final material selection.

    Step 3 · Final production

    With geometry verified, the gear is ready to be printed in ABS for long‑term use; final installed photos will be added after production.

    Design and validation

    CAD model of the motor gear showing tooth profile and hub geometry.
    CAD model used to dial in tooth profile and hub dimensions.
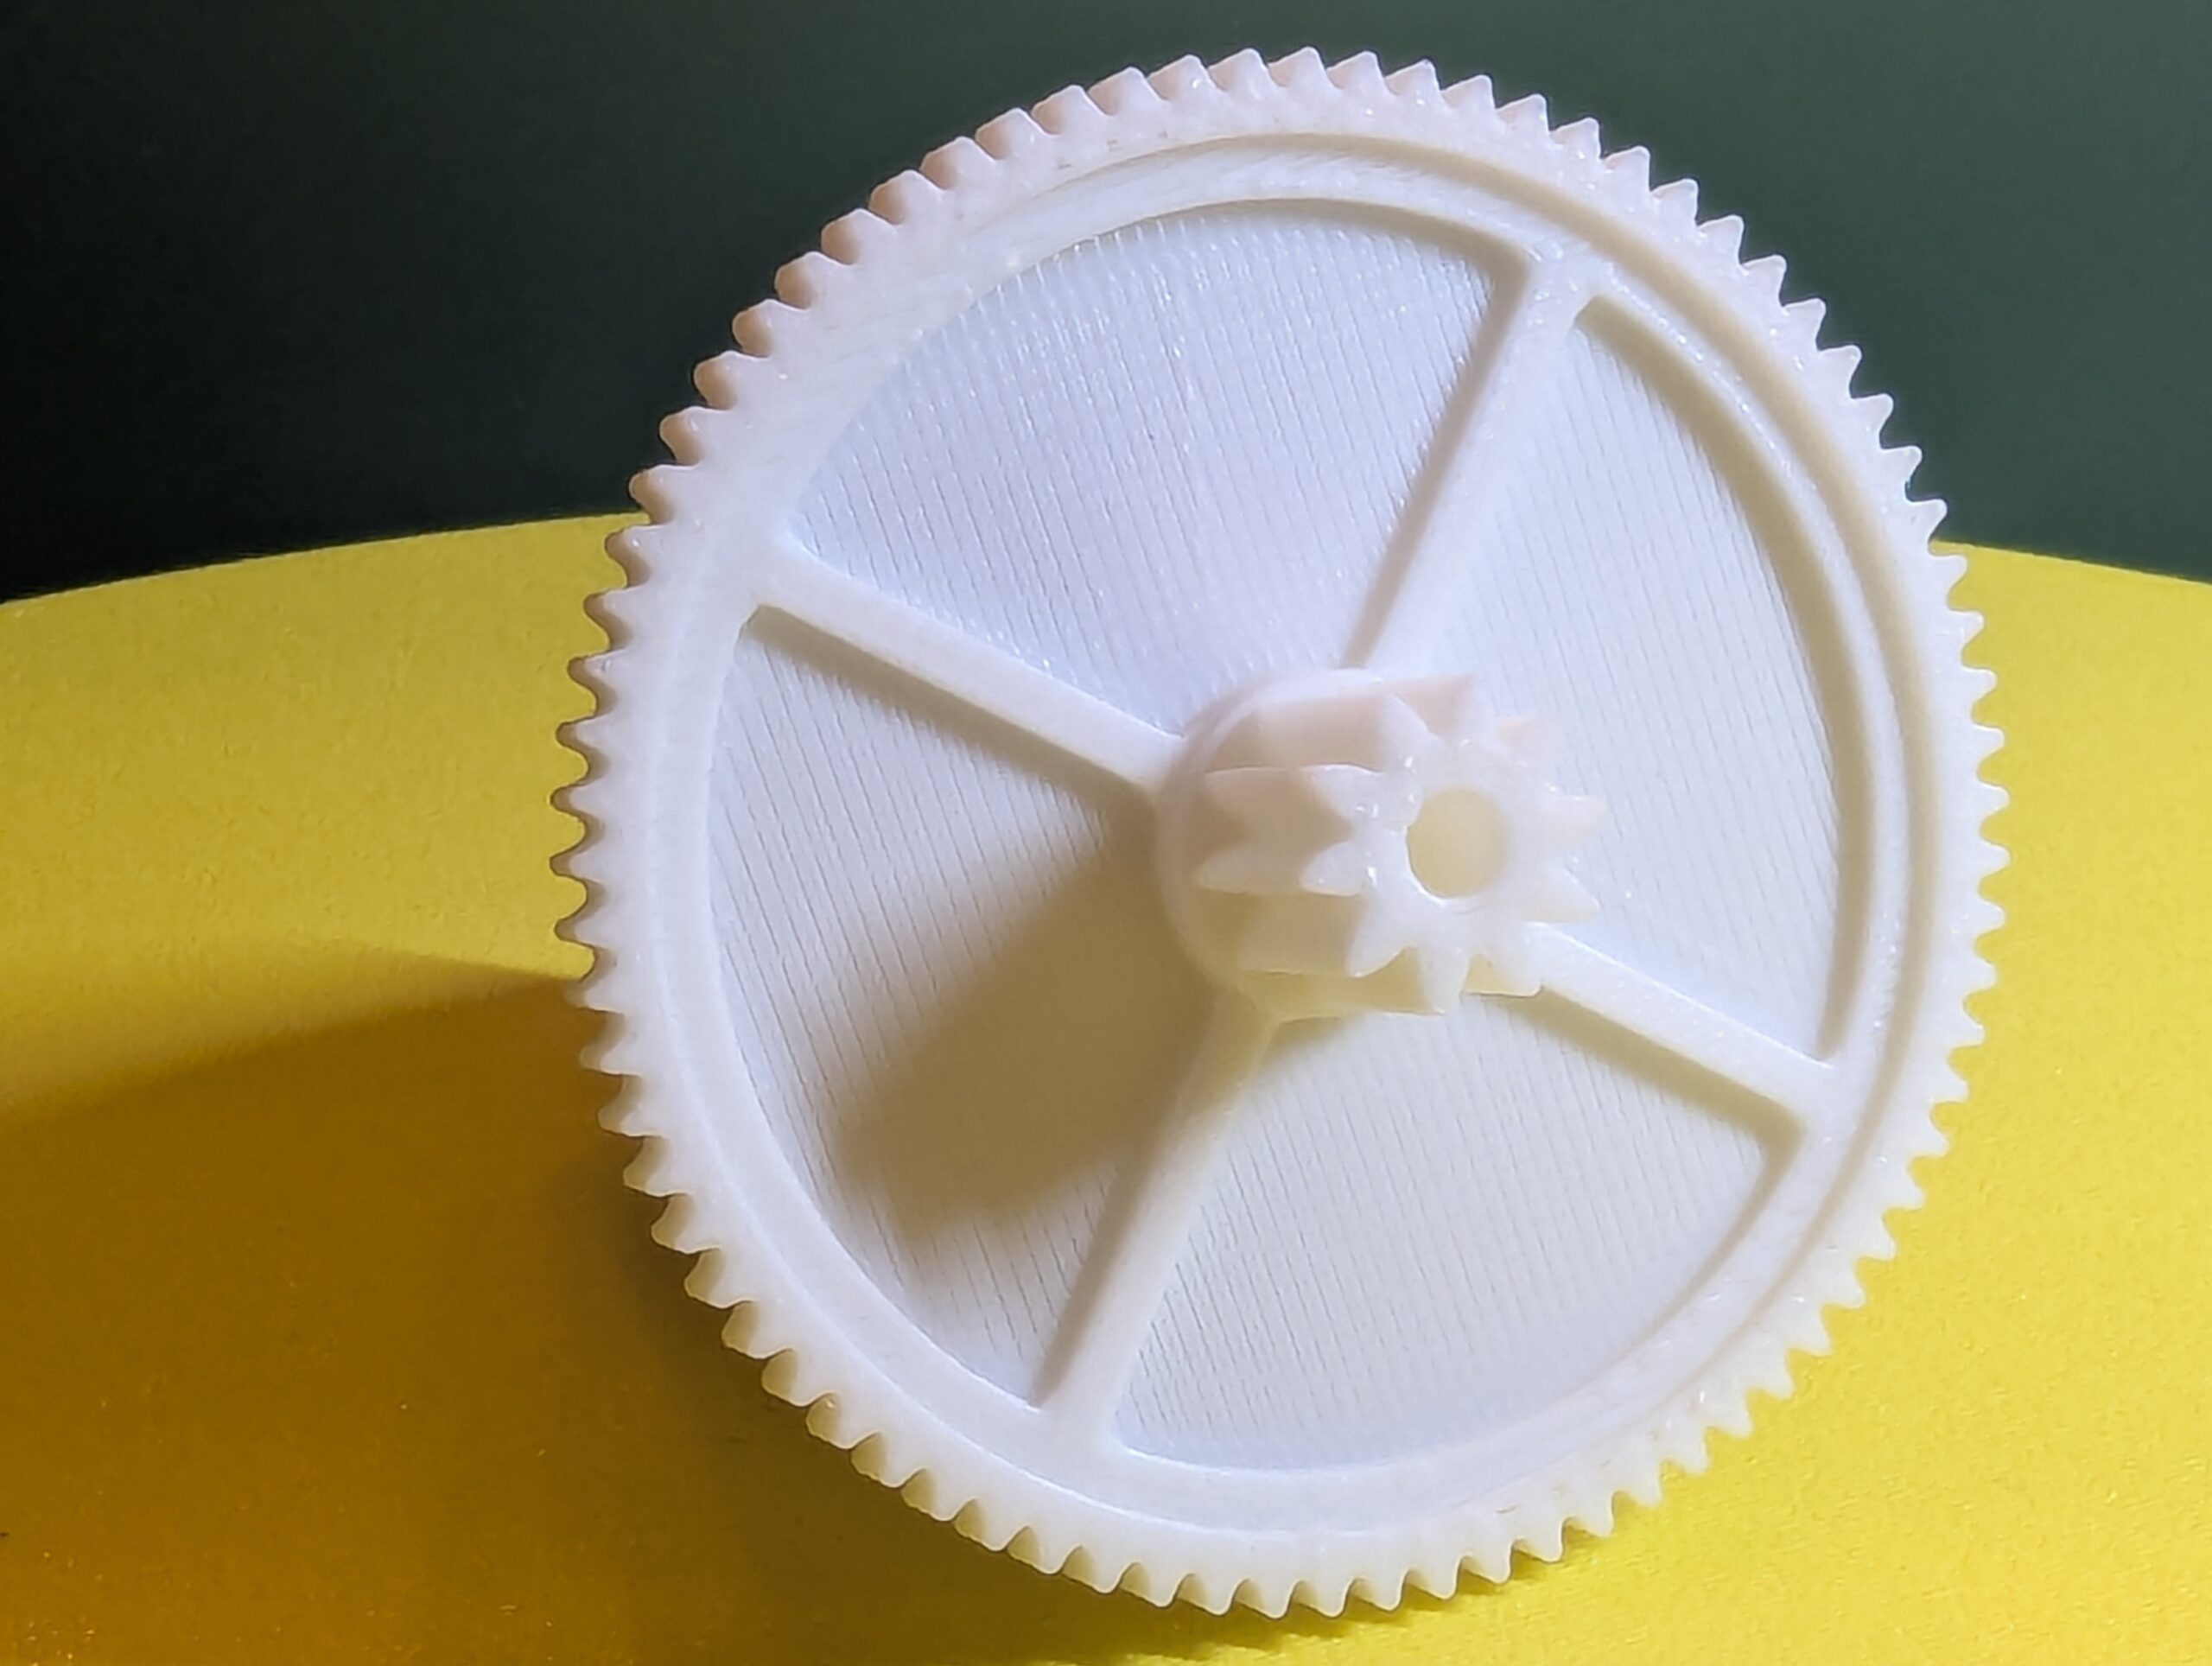
    Prototype 3D printed motor gear on the bench used to validate shaft fit and tooth engagement.
    Prototype print used to confirm shaft fit and tooth engagement before final ABS production.

    Final production

    Once the final ABS gears are printed and installed, this section will be updated with photos of the production parts and in‑assembly shots inside the gearbox. The geometry from the prototype is already locked in, so future runs are as simple as loading the file and printing another batch.

    Result

    With the motor gear captured in CAD and validated by a working prototype, replacement parts can be produced on demand. This lets worn drivetrain components be replaced without hunting down OEM spares or throwing away an otherwise good motor assembly, extending the life of the ride‑on toy with a small, targeted print job.

    Service

    Reverse engineering + custom replacement motor gear

    Material

    Prototype PLA / final planned ABS motor gears

    Outcome

    Drop‑in replacement geometry ready for repeatable production

  • Power Wheels Steering Box Gear Replacement From the Original Part

    Case Study • Replacement Part • Power Wheels

    Power Wheels Steering Box Gear – Reverse-Engineered Replacement

    A customer brought in a worn steering box gear from a Power Wheels ride-on toy after the original part had stripped and failed. The part was measured, recreated in CAD, prototype tested for fit, and then produced as final ABS replacement gears.

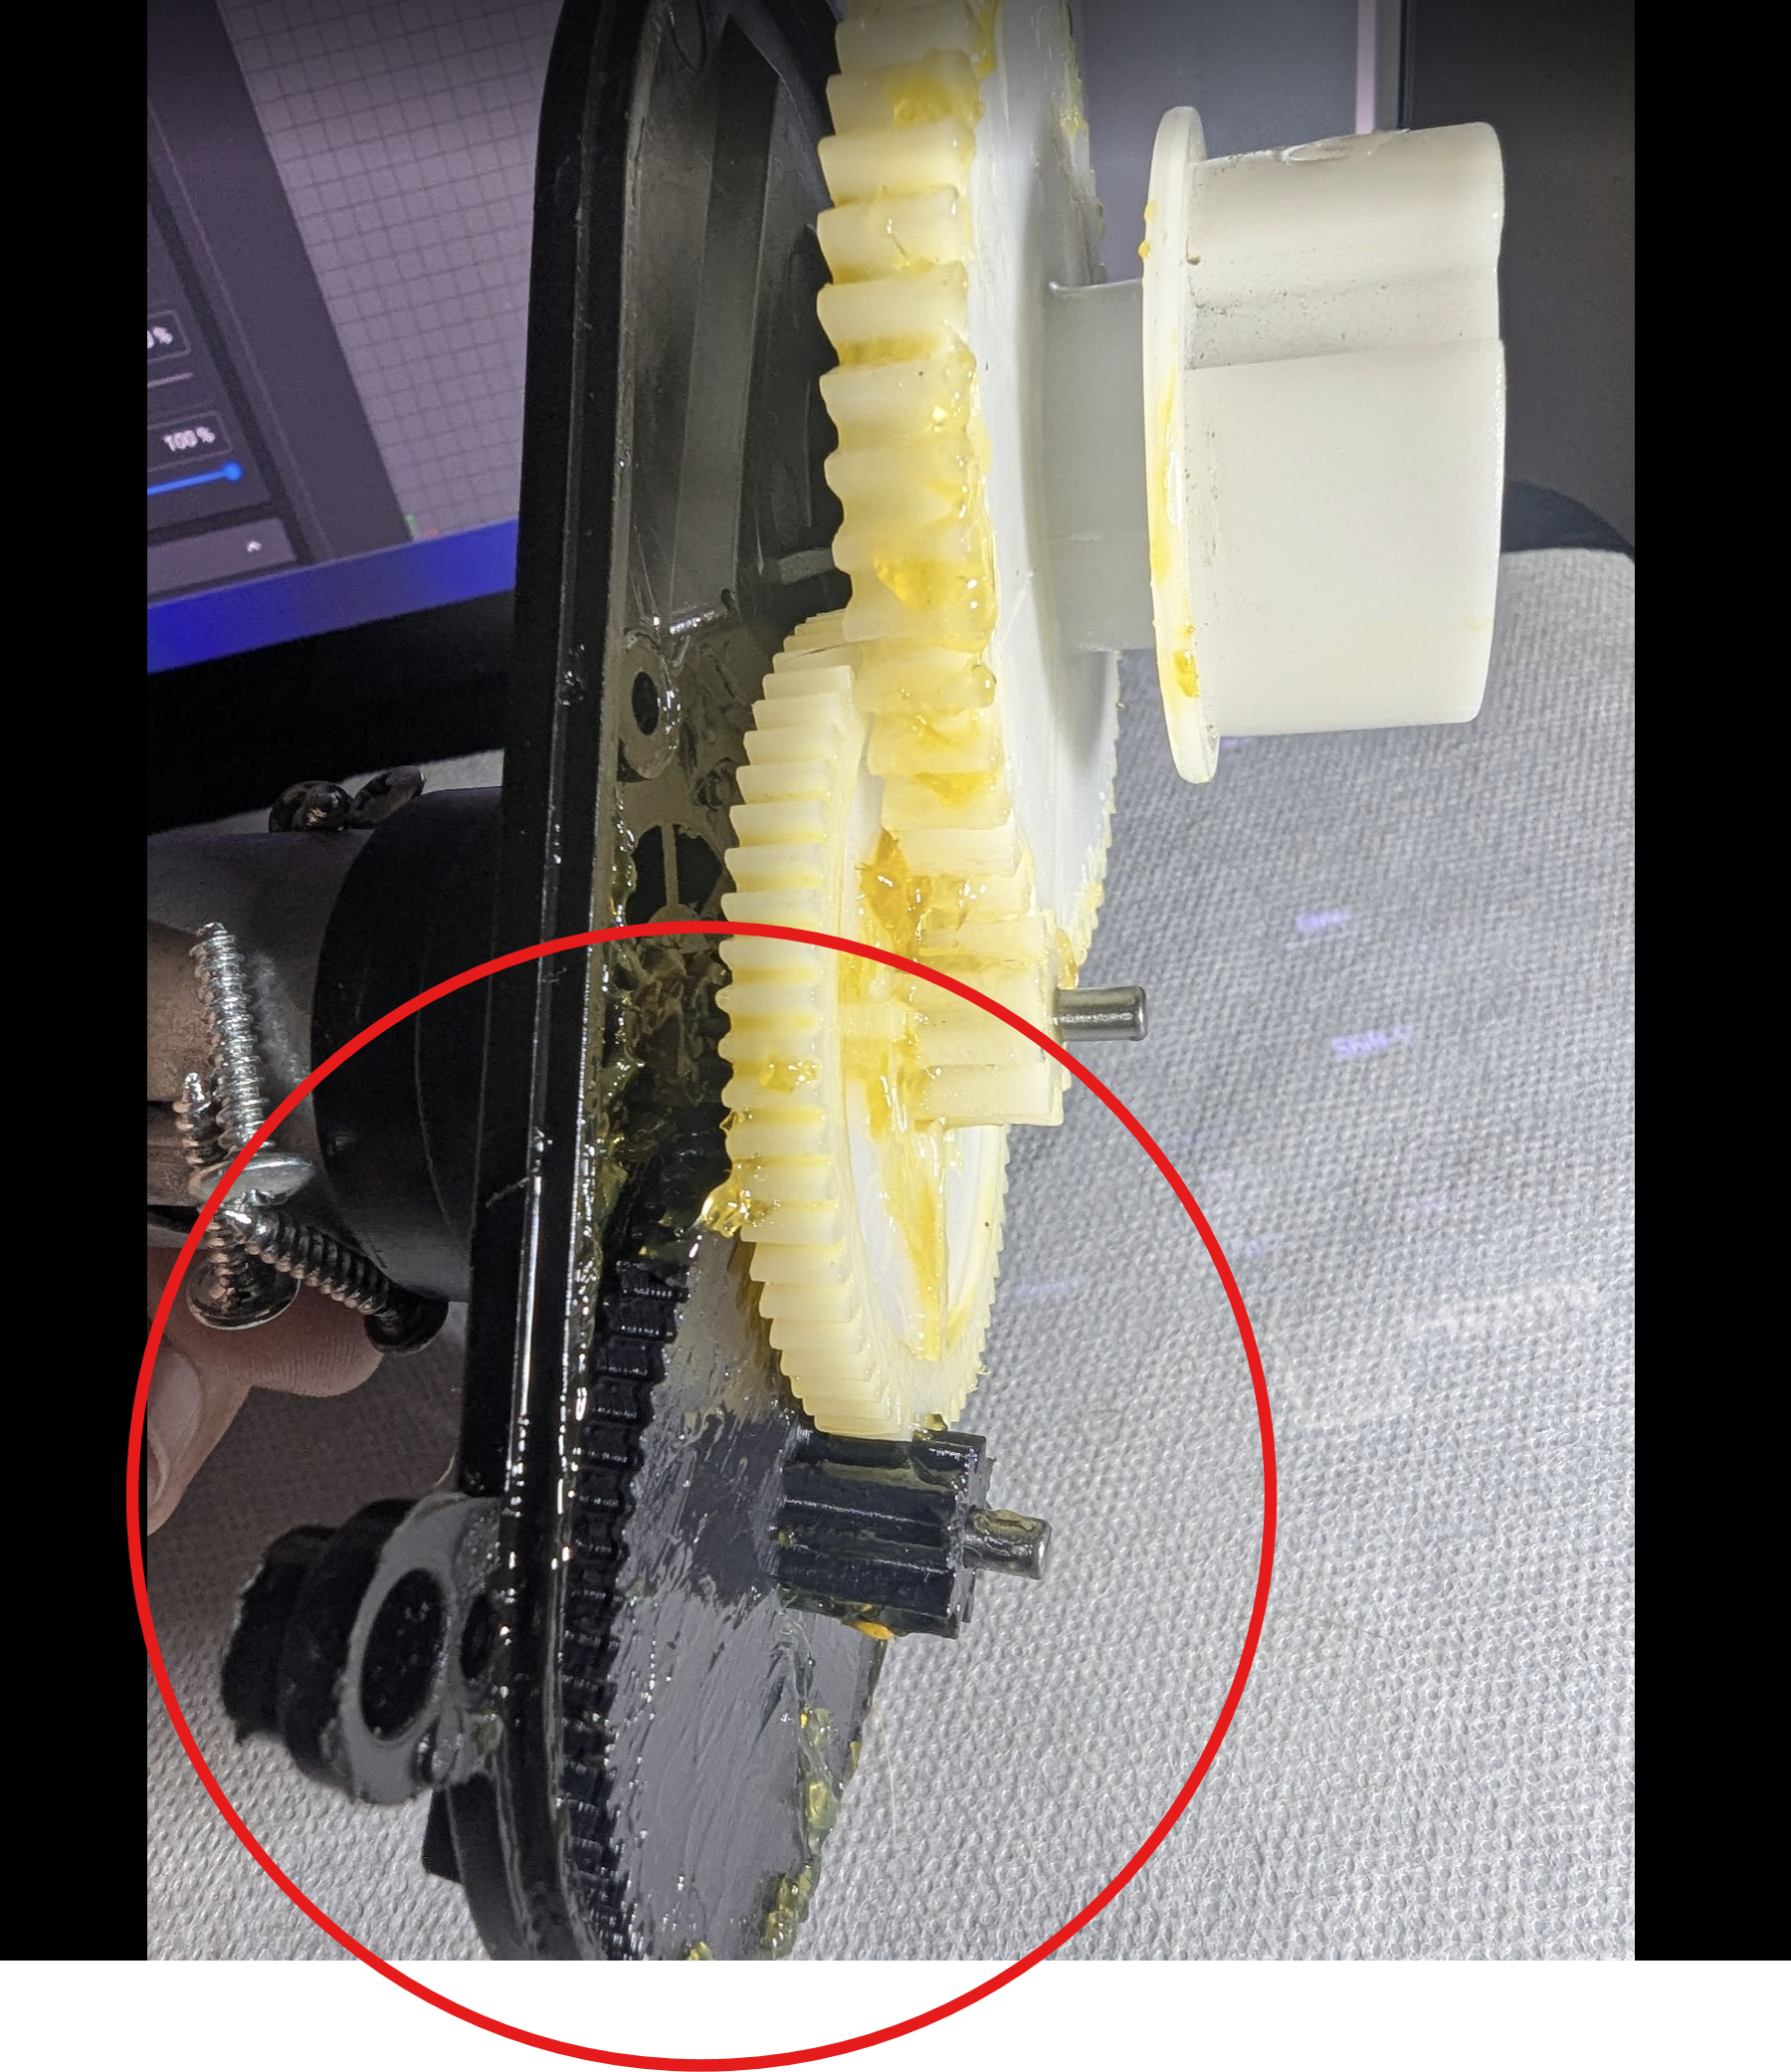
    Final ABS replacement steering gear installed in the Power Wheels steering box.
    Final ABS replacement gear installed in the Power Wheels steering box.

    The problem

    The original steering gear had worn teeth and could no longer reliably transfer motion through the steering box. Rather than replacing the full assembly, the goal was to recreate the failed part accurately and provide multiple direct-fit replacements for the customer.

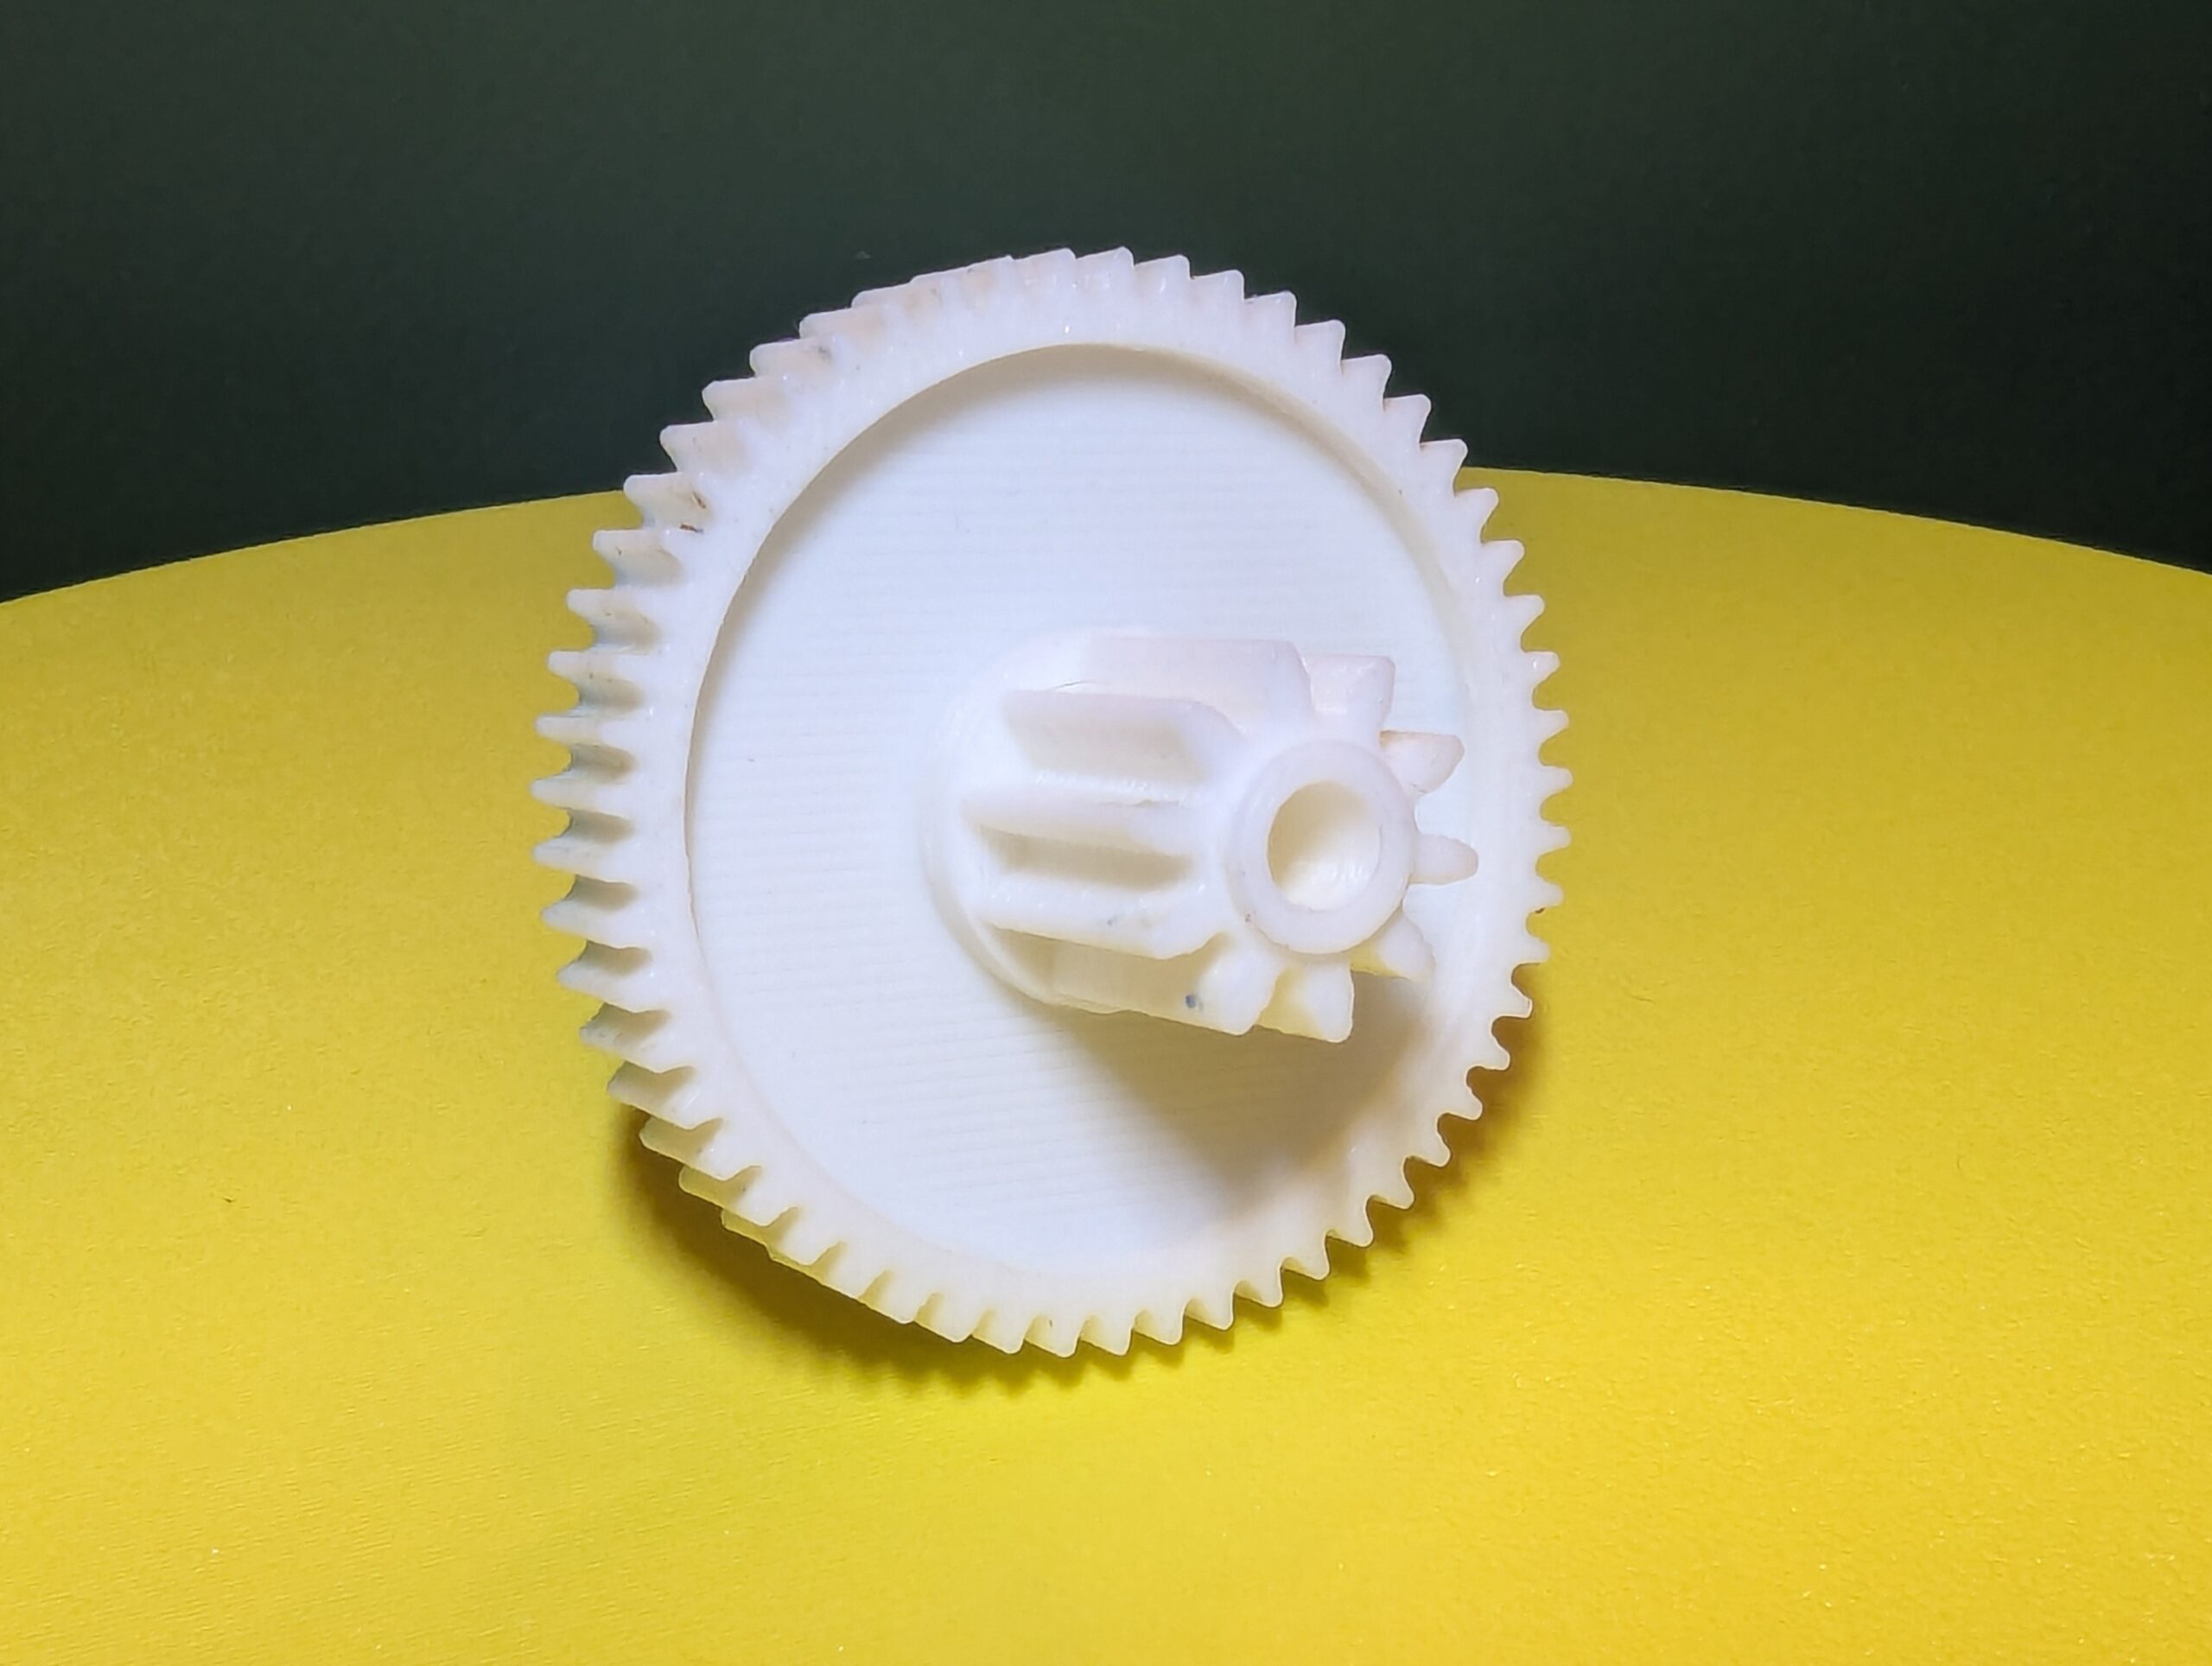
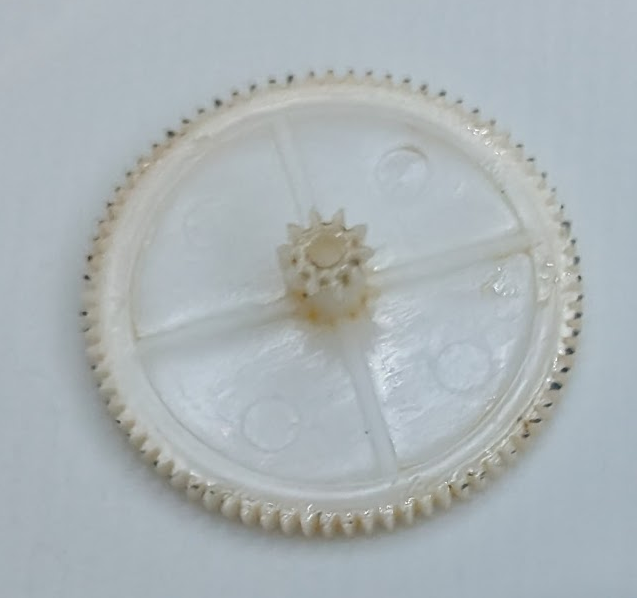
    Original worn steering gear removed from the Power Wheels steering box.
    Original worn steering gear removed from the assembly.

    Step 1 · Measure & model

    The failed gear was measured and recreated in CAD to match the original geometry.

    Step 2 · Prototype test

    A prototype was run to validate fit, motion, and engagement before final production.

    Step 3 · Final ABS batch

    Once validated, the finished gears were printed in ABS and supplied as multiple copies.

    Design and validation

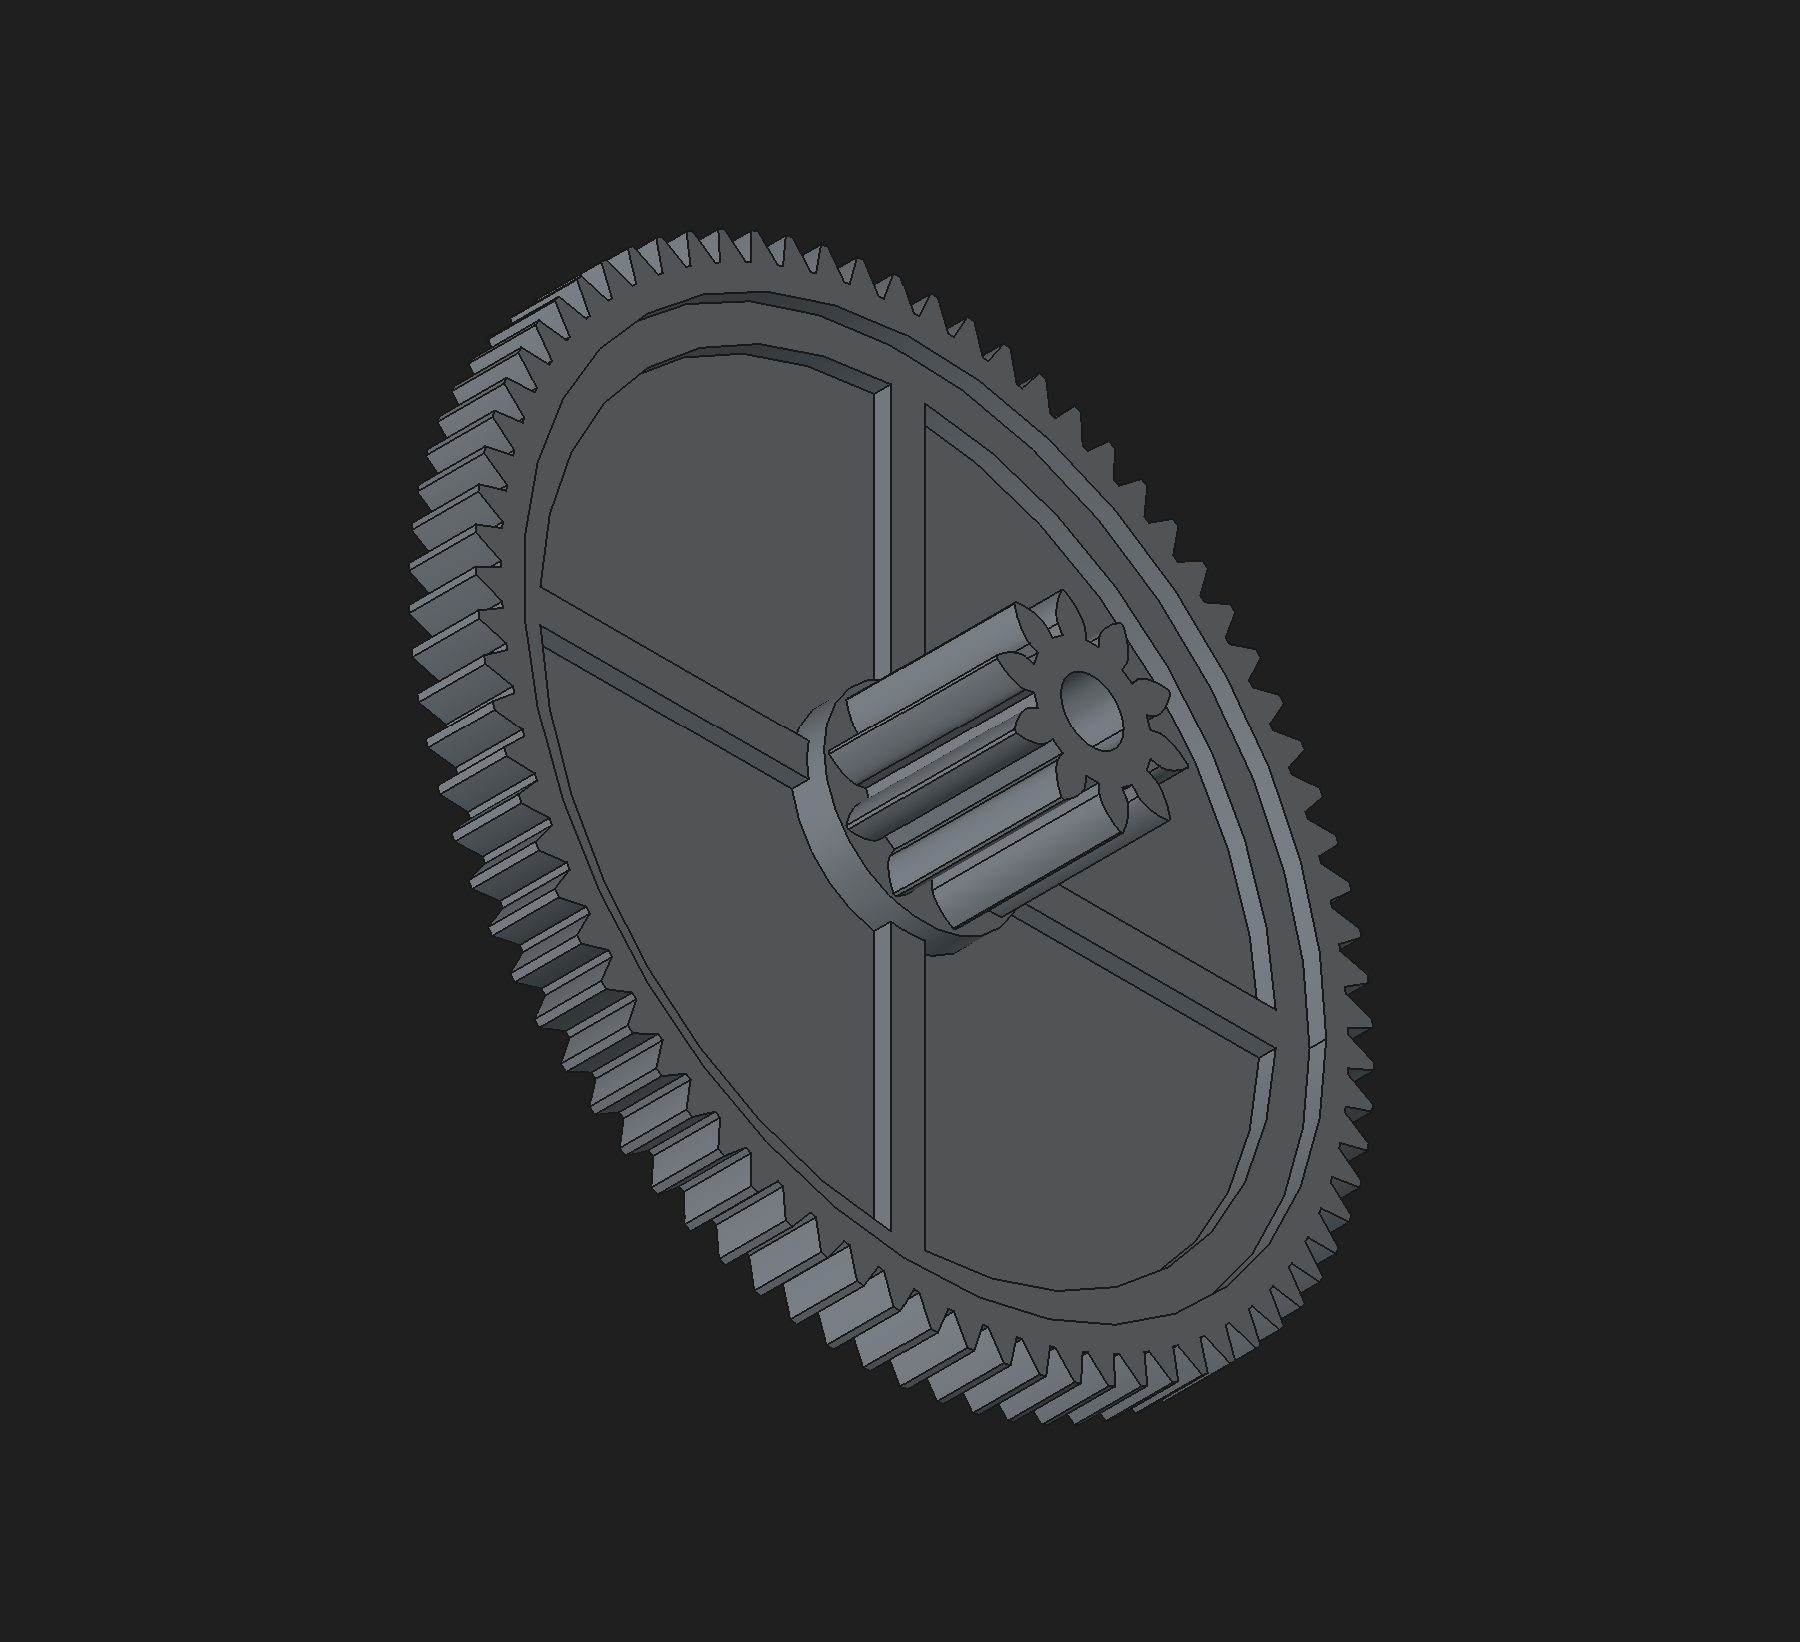
    CAD model of the recreated steering gear ready for printing.
    CAD recreation of the replacement gear.
    Prototype gear used for validation before final ABS production.
    Prototype gear used for validation before final ABS production.

    Final production

    Final ABS replacement gear print.
    Final ABS printed replacement gear.

    After the prototype confirmed fit and function, the finished gears were printed in ABS and delivered as multiple ready-to-install replacements. The final production version restored steering function and provided additional spares for future wear.

    Result

    The final ABS gears restored steering function and gave the customer multiple ready-to-install spares for future wear. This project is a good example of how reverse engineering and functional 3D printing can extend the life of consumer products when original plastic parts wear out or are hard to replace.

    Service

    Reverse engineering + custom replacement part printing

    Material

    ABS final production parts

    Outcome

    Multiple replacement gears produced after successful fit validation